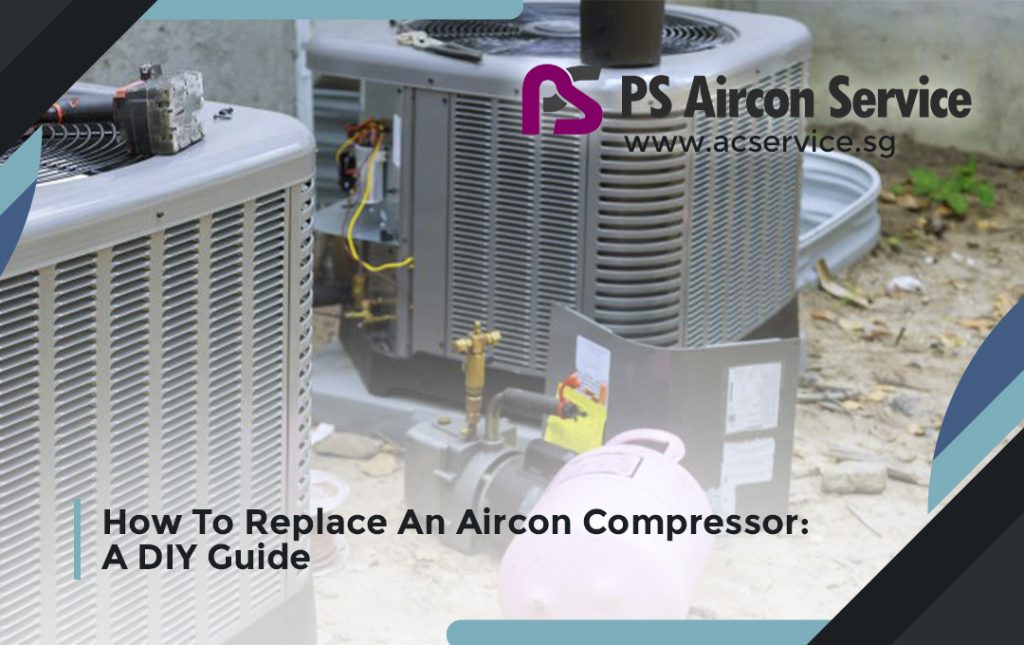
The compressor is one of the most important parts of an aircon. The compressor not only compresses the air but also raises its temperature. It also increases the pressure of the air. All of these functions work together to make the aircon work. Without them, the aircon can not function. Thus, when the compressor stops working, replacing it becomes essential.
Check Out Our Aircon Services
But many people don’t know the correct way to replace an aircon compressor. They might fumble around the unit a bit to work their way, but to no use. People can also take the help of professionals for this purpose. But professionals can cost a lot, and many of us cannot afford them. Thus, knowing how to replace an aircon compressor by yourself is necessary.
Aircon compressor replacement by DIY methods is our topic of discussion today. We are going to go into complete detail about the process.
Tools Needed
The tools you are going to need for aircon compressor replacement are:
- Wrenches
- Refrigerant fluid
- Sockets
- Tensioner tools for the serpentine belt
- Vacuum pump
- New Compressor
- Thermometer, gauges, and some tubes

Steps To Replace Aircon Compressor
Here are the steps you are going to follow to replace aircon compressor:
- Locate the aircon compressor inside the unit and dislodge the serpentine belt. You will be needing the tensioner tool for removing the serpentine belt.
- Remove the refrigerant liquid from the compressor. For this purpose, you are going to need a recovery machine. These specialized tools are present only at aircon repair shops. So you are going to need to visit these shops to borrow the tool.
- Separate the refrigerant cables from the compressor. You are going to need a wrench to remove the bolts. Once you remove the tubes, you should inspect them for any signs of wear.
- Remove all electrical connections of the compressor.
- Remove the mounting bolts of the compressor and take them out of the unit. You can send this unit for inspection by some professional, or you can discard it. You should discard the units showing obvious signs of wear and tear.
- To install the new compressor, follow the above steps in reverse order. Connect the new compressor to the electrical supply and attach refrigerant lines.
- Fill in the refrigerant liquid back in, and secure the serpentine belt back. This should make the new compressor start working.
- Run a vacuum test through the system to check for any signs of leakage. Vacuuming should also remove moisture from the aircon tubes. You are going to need a vacuum pump and some gauges for this purpose. Connect the aircon refrigerant lines to the vacuum lines, and secure them using the gauges.
- Run the vacuum pump for half an hour. At the end of the pumping cycle, the pressure should read about 28-30 inches of mercury. If the pressure reading is less than this, there might be leakage.
- Turn the aircon on, and notice the temperature difference by a thermometer in the outflow aircon vent. If the temperature is decreasing, it means that the compressor is working fine and the aircon will run smoothly. The process to replace the air conditioner compressor is complete.
The whole process to replace aircon compressor is simple enough. But some people might find it difficult. if you find yourself in a fix during the whole process, call a professional. Professionals can easily replace the compressor in no time. They can also perform all regulatory checks on the aircon. Thus, you can be sure of the working of the aircon.
Conclusion
Now you know how to replace aircon compressor. Just be sure of your safety during the whole process. Be careful when handling any heavy tools or the ones connected to the electrical supply. You can go down to repairing the unit once you have ensured all safety measures. And if you run into any difficulty, you can always take the help of professionals.
